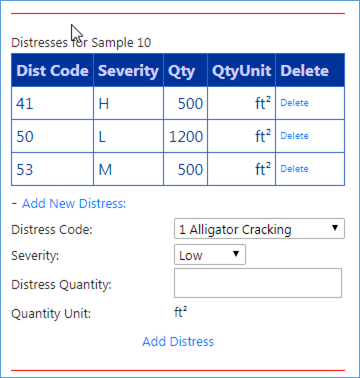
When the update inspection page is accessed using a mobile device, the “Mobile Inspection Update” page is displayed. This page has the same functionality as the desktop “Update Inspection” page but it is optimized for vertical scrolling on a mobile device. The data are entered into the database in real time. The same drop down list is used to select the “Network”, “Branch”, and “Section”, but the inspection and sample unit are selected from drop-down menus instead of grid tables.

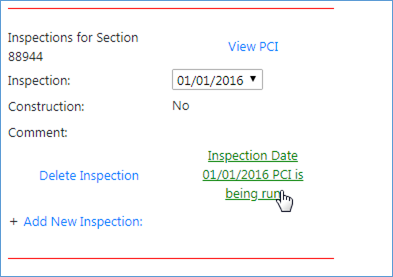
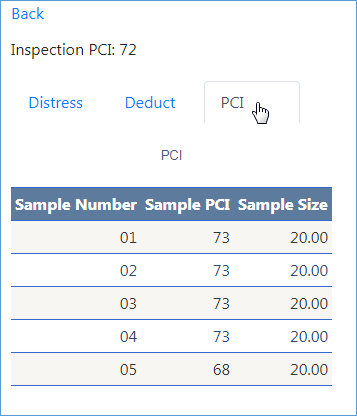
The PCI can be calculated and displayed using the mobile interface using the “Run Inspection PCI”, “Run Sample PCI”, and “View PCI” links.
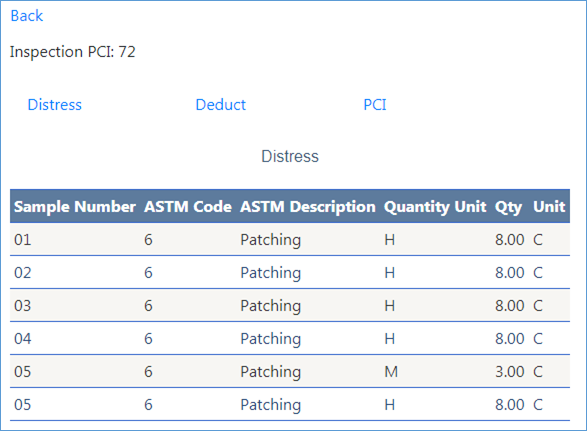
The “Distress” table is displayed by default on the View PCI page. Press the “Back” link to return to the data entry screen.
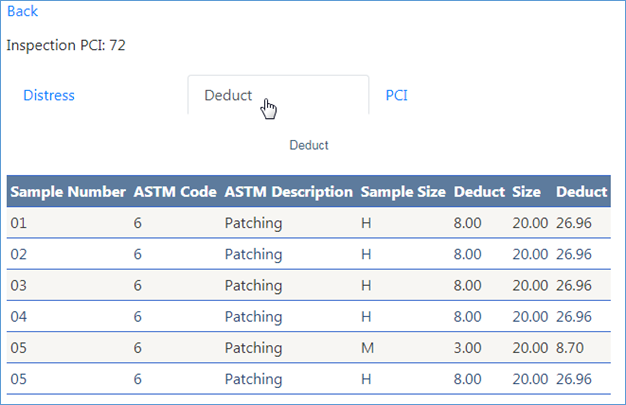
The “Deduct” and “PCI” tables are accessed by clicking their respective links.
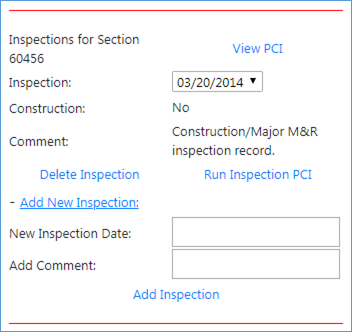
Features to create new samples and inspections and to enter distresses are hidden by default in order to streamline the distress data entry process. Clicking on the “Add New Inspection” link displays the data entry for adding a new inspection. Enter the inspection date in the “New Inspection Date” data entry and click “Add Inspection.” Clicking the link again will hide the data entry controls.
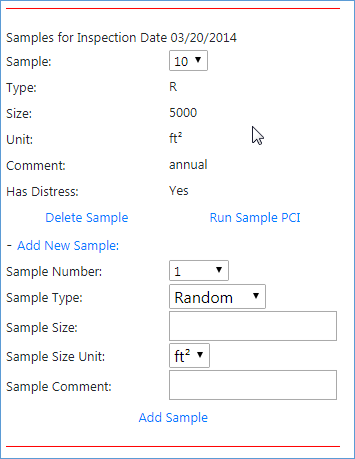
Clicking the “Add New Sample” link displays the data entry for adding a new sample. Select the sample number and type, enter the sample size and click the “Add Sample” link. The sample size units will be automatically selected based on the user Units preferences and section surface type. Clicking the link again will hide the data entry controls.
Clicking the “Add Distress” link displays the data entry for adding a new distress. Select the “Distress Code” and “Severity” then enter the “Distress Quantity”. The distress units will be automatically selected based on the distress type and user Units preferences. Click the “Add Distress” link to enter the distress into the database. Clicking the link again will hide the data entry controls.
